Wall & Surface Repairs
Drywall Patching
Filled, floated, and blended without replacing the board
Drywall Patching
Overview
About our drywall patching
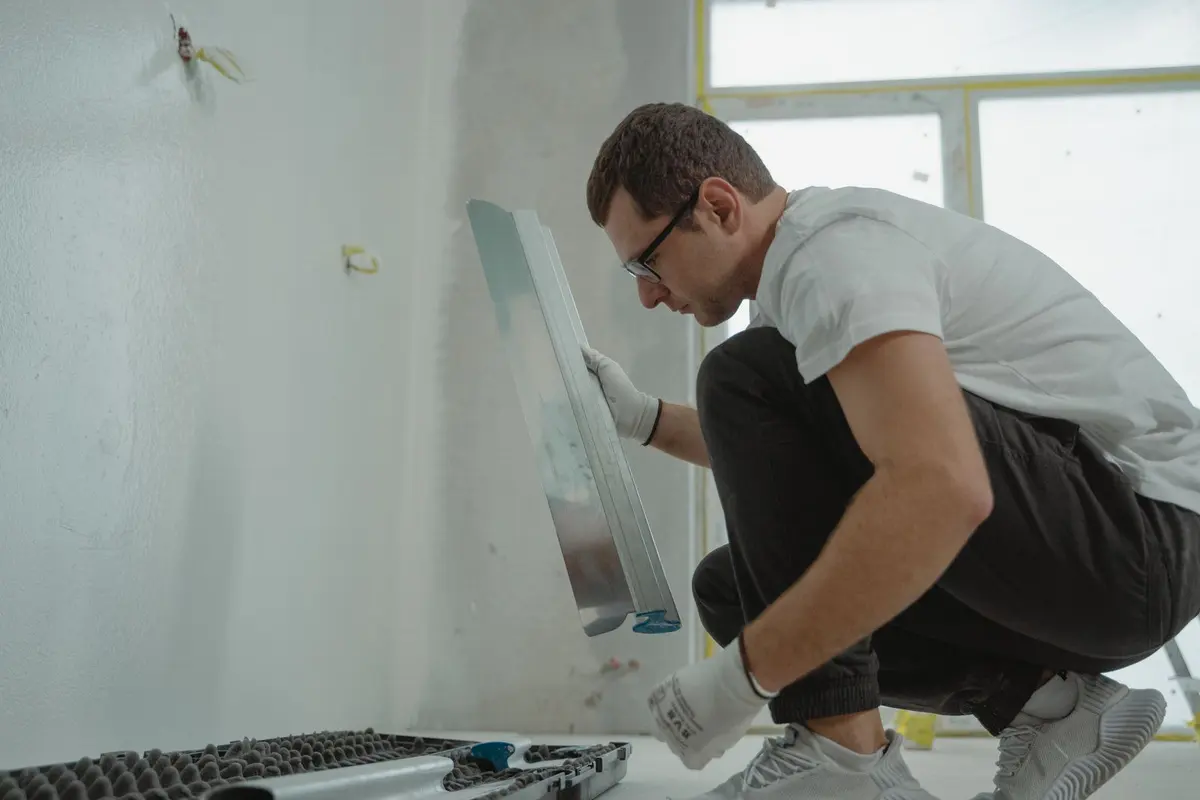
Patching handles damage the existing board still carries: a doorknob punched through, a toggle anchor that tore out a crater, the four bruised screw holes left by a TV bracket. Nothing is cut out and nothing is replaced — the void is backed, filled, floated and blended. Larger failures belong in drywall repair, and single pin holes belong in the nail hole pass.
Most of this work shows up in lived-in houses — hallways in two-story tract homes, garage walls where a bike bar pulled free, and bathrooms where a towel bar let go of hollow board. Rental turnovers across the Inland Empire generate the same short list every time, and most owners want the whole list closed out under one scope rather than trade by trade.
Our habit is to fill less and float wider. A crater gets backed and bridged so the compound has support, then built in thin coats rather than one heavy fill that shrinks and dishes. Each patch is sanded to a feather edge, spot-primed, and retextured to the wall around it — the test is whether you can still find it after the finish coat.
Licensed · Bonded · Insured — CA LIC# 1160754Inland Empire & Orange CountyFree estimates
Why it pays off
No unnecessary cut-outs
If the board still does its job, replacing it only adds seams. Patching keeps the wall intact and the work area small, which matters in an occupied house.
Fills that stay flat
Setting compound under a thin three-coat float is what stops a patch from dishing as it cures. One thick scoop of all-purpose shrinks and leaves a shadow.
Texture that matches
We spray to match the wall you already have instead of leaving a smooth island in a textured room, which is the giveaway on most patch work.
Clean, contained work
Floors and furniture are covered, dust is controlled at the sanding stage, and the room is left usable. Every patch scope is priced in a free written estimate.
Our process
How we approach drywall patching
The order matters as much as the materials. This is the sequence we follow, and the estimate spells out which steps your job needs.
- 01
Assess the void
We check whether the board around the damage is still sound and fastened. If it flexes or the paper face is torn loose across a wide area, the job becomes a cut-out repair instead.
- 02
Clean and back the hole
Loose paper and crumbling gypsum are trimmed back to firm edges. Anything bigger than a coin gets a backing clip or a bridged mesh patch so the fill has something behind it.
- 03
Fill with setting compound
The first fill is a setting-type compound, which hardens chemically and shrinks far less than the air-dry kind. It goes in flush, not proud, so the following coats do the leveling.
- 04
Three-coat float
Three passes of all-purpose compound follow, each one wider than the last — a 6-inch knife, then a 10, then a 12 — so the edge of the patch dies into flat wall rather than stopping at a ridge.
- 05
Sand and check the light
Sanding is done by hand at the center and with a pole sander through the feather, then a work light is raked flat across the wall to expose any ridge or hollow before we stop.
- 06
Retexture and spot-prime
Orange peel, knockdown or a hand-trowel finish is brought back over the patch to match the surrounding wall, then primed so the finish coat lands at one even sheen.
Related services
Work that usually goes with this
Most jobs touch more than one of these. Bundling them into one estimate saves a second mobilization.
Where we do it
Drywall Patching across the Inland Empire & Orange County
We work out from Corona across 40 cities and communities. Pick yours for local detail, or just call and tell us the street.
Get a free estimate for drywall patching
Tell us the property, the surfaces involved and anything that needs repair first. We will walk the job and put the full scope in writing. Serving the Inland Empire & Orange County.
Licensed · Bonded · Insured — CA LIC# 1160754